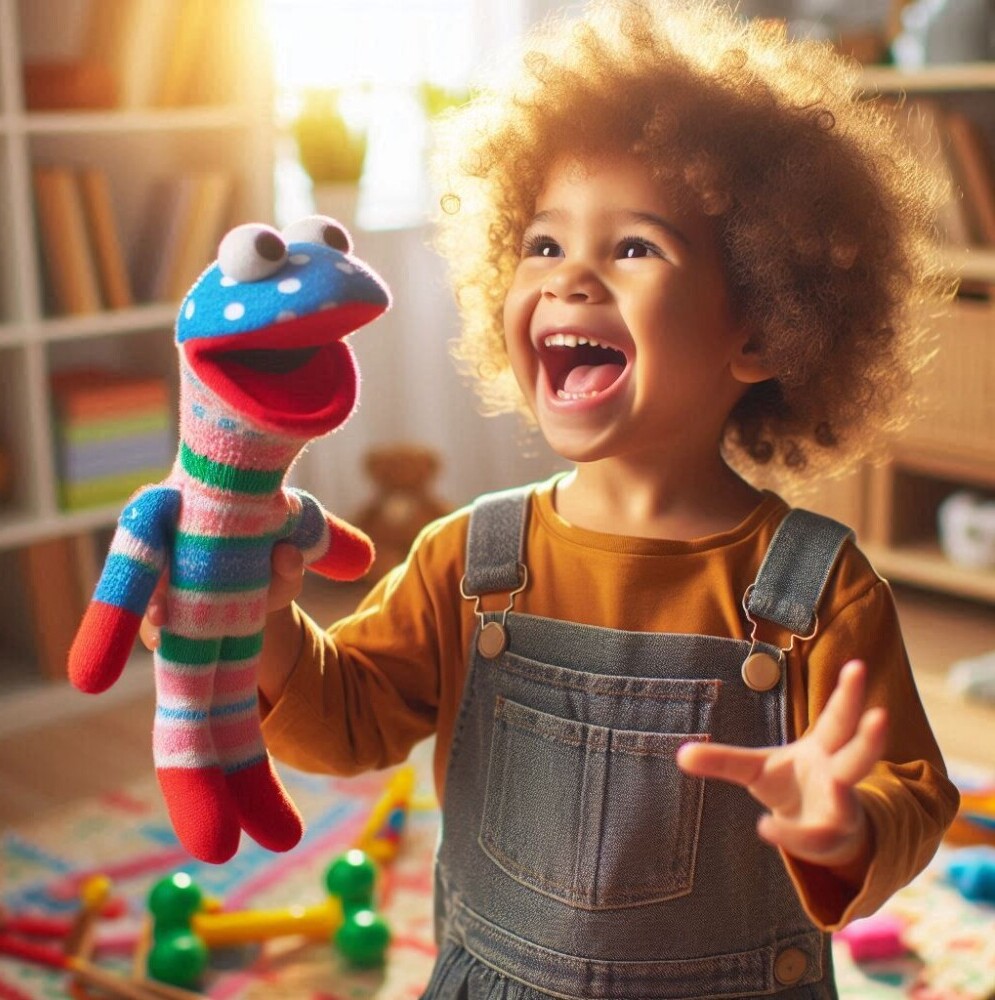
Creating a sock puppet is a fun craft project that opens the door to creativity and playful storytelling. Whether you want to put on a puppet show for friends or look for a creative way to craft a unique toy, making a sock puppet might be just the project to try.
The idea behind a sock puppet is to transform an everyday sock into a character with personality. The process involves gathering basic supplies, deciding on a design, and adding creative details that make your puppet unique.
Step 1: Gather Materials and Decide Your Puppet’s Personality
Before you start cutting or gluing, check what supplies you have available. Consider the puppet’s character. Will it be funny, spooky, or silly? Taking a few moments to sketch out a rough idea can be really helpful.
Materials You Will Need:
- A clean sock (preferably colourful)
- Glue or fabric adhesive
- Buttons, googly eyes, or felt pieces for facial features
- Needle and thread for extra security
- Yarn or string for hair or accessories
- Scissors and other crafting tools
Brainstorm Questions:
- What type of character do I want my puppet to be?
- What features will bring it to life? Think about eyes, ears, and even a mouth.
This early stage is important. You should have a clear vision of the puppet you want to create before you start cutting, gluing or stitching.
Step 2: Plan Your Sock Puppet Design
Once you have a clear idea of your puppet’s personality and have gathered your materials, it is time to plan out the design. This planning process might include deciding how you want the puppet to move and perform. Consider making a few sketches or notes to serve as a guide as you work.
Design Considerations:
- Decide if your puppet will have a fixed face or if parts will be movable.
- Plan out where to place the eyes, nose, and mouth.
- Think about whether you want to attach extra elements like hair or accessories.
Sketching Your Idea:
Even if you’re not a professional artist, a rough sketch can help you keep track of your ideas. This visual reference assists in determining the ratios and placements of each feature. A few extra minutes to prepare will be well spent.
Step 3: Prepare Your Sock for Transformation
With your design in hand and your materials ready, the next step is to prepare the sock for transformation. This process involves simple tasks like washing the sock if it’s used, or a bit of light trimming if necessary.
Preparation Guidelines:
- Wash the sock to remove any dirt or residue.
- Lay the sock out on a clean work surface.
- Identify the area that will serve as the face; often the toe area or the top where fingers slide in works best.
You can trim the sock to remove excess fabric if it is too long or does not suit the puppet’s style.
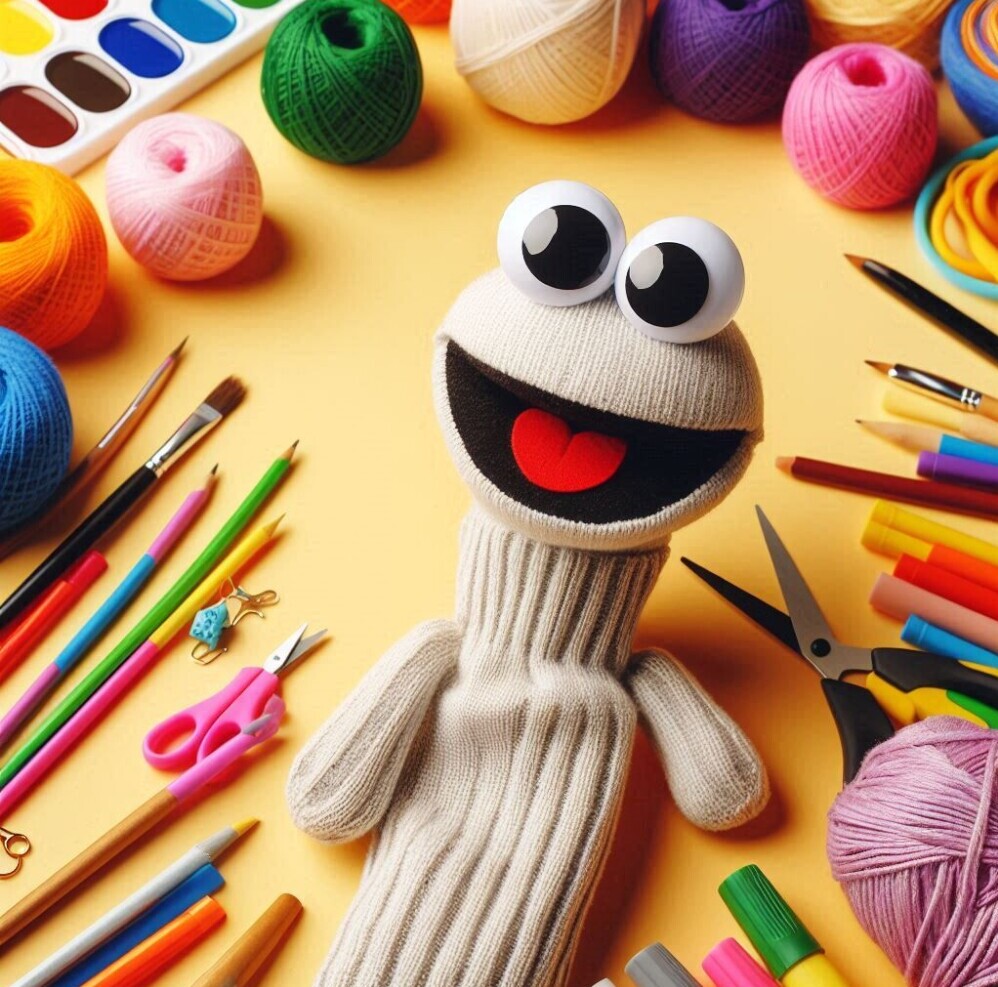
Step 4: Create a Lively Puppet Face
The puppet’s face is what truly brings it to life. Adding facial features is where your creativity takes shape. You can craft a range of faces by adjusting the arrangement and style of the eyes, nose, and mouth. Experiment with different expressions to see which one best suits your puppet’s character.
Adding Facial Features:
- Position the eyes: Apply glue to the areas where you want the eyes and attach buttons or googly eyes.
- Create the mouth: Sew a simple line for a smiling or frowning mouth, or attach a piece of felt with adhesive. Let the puppet’s personality guide your choice of expression.
- Include extra details: Add a small dab of fabric or felt to form a little nose, carefully centering it for balance.
Often, it helps to temporarily glue or pin the pieces in place and adjust the positioning until the puppet looks just as you want it. Once you are satisfied, fix the pieces permanently with extra glue or stitches.
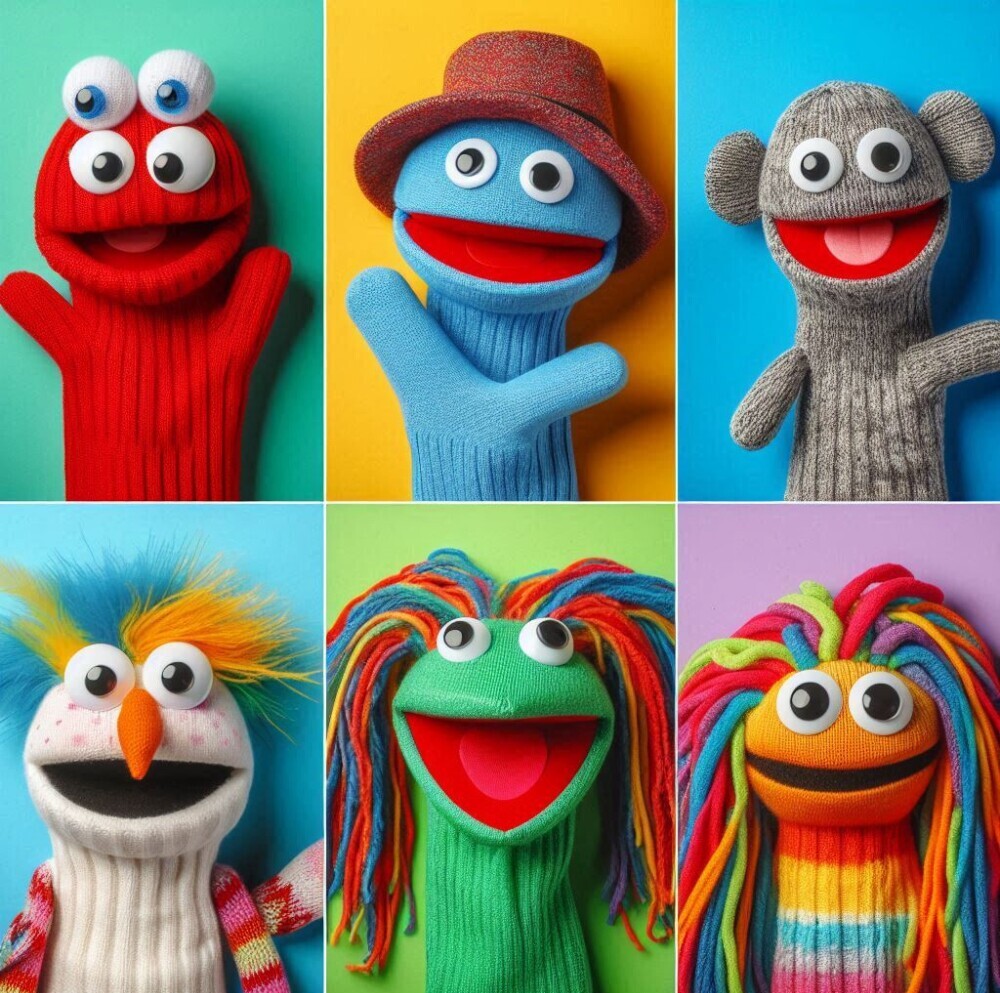
Step 5: Add Personality with Accessories and Details
Now that the basic face is finished, it is time to step up your puppet by adding personality through accessories and extra details. These additions can make your puppet stand out and give it a unique character.
Ideas for Personal Touches:
- Hair: Use yarn, fabric, or strips of felt to add hair. Secure them firmly at the top of the head using glue or stitching.
- Clothing: Consider using scraps of fabric or felt to create a miniature outfit or even a hat. A small bow tie or ribbon can add a charming detail.
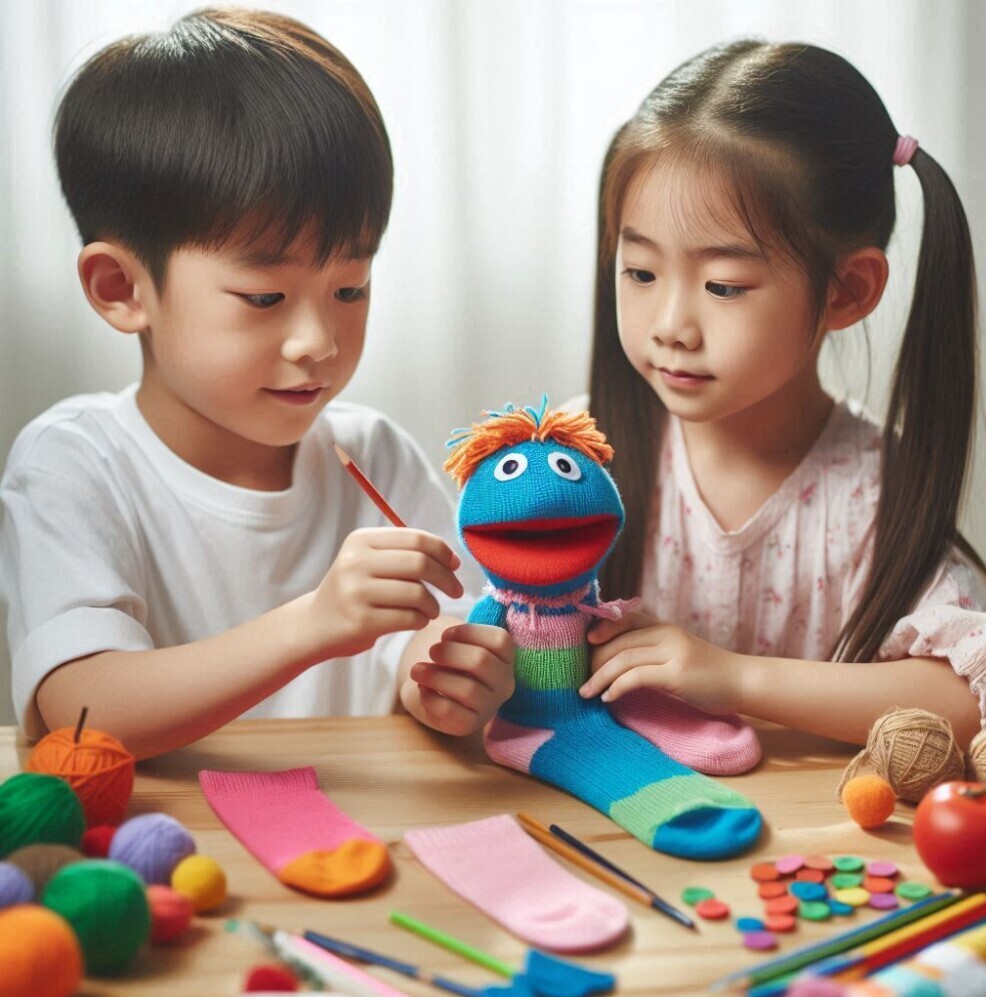
Step 6: Test Your Puppet’s Performance

After constructing your puppet, it is time to test its performance. A puppet is meant to move, and seeing it come to life can be very rewarding. Take a moment to interact with your puppet, checking how each moving part functions and ensuring that all features are securely attached.
How to Test Your Puppet:
- Practise making different facial expressions by opening and closing the mouth.
- Use your fingers to move the puppet and see if the attachments remain firm.
Have fun with your puppet!